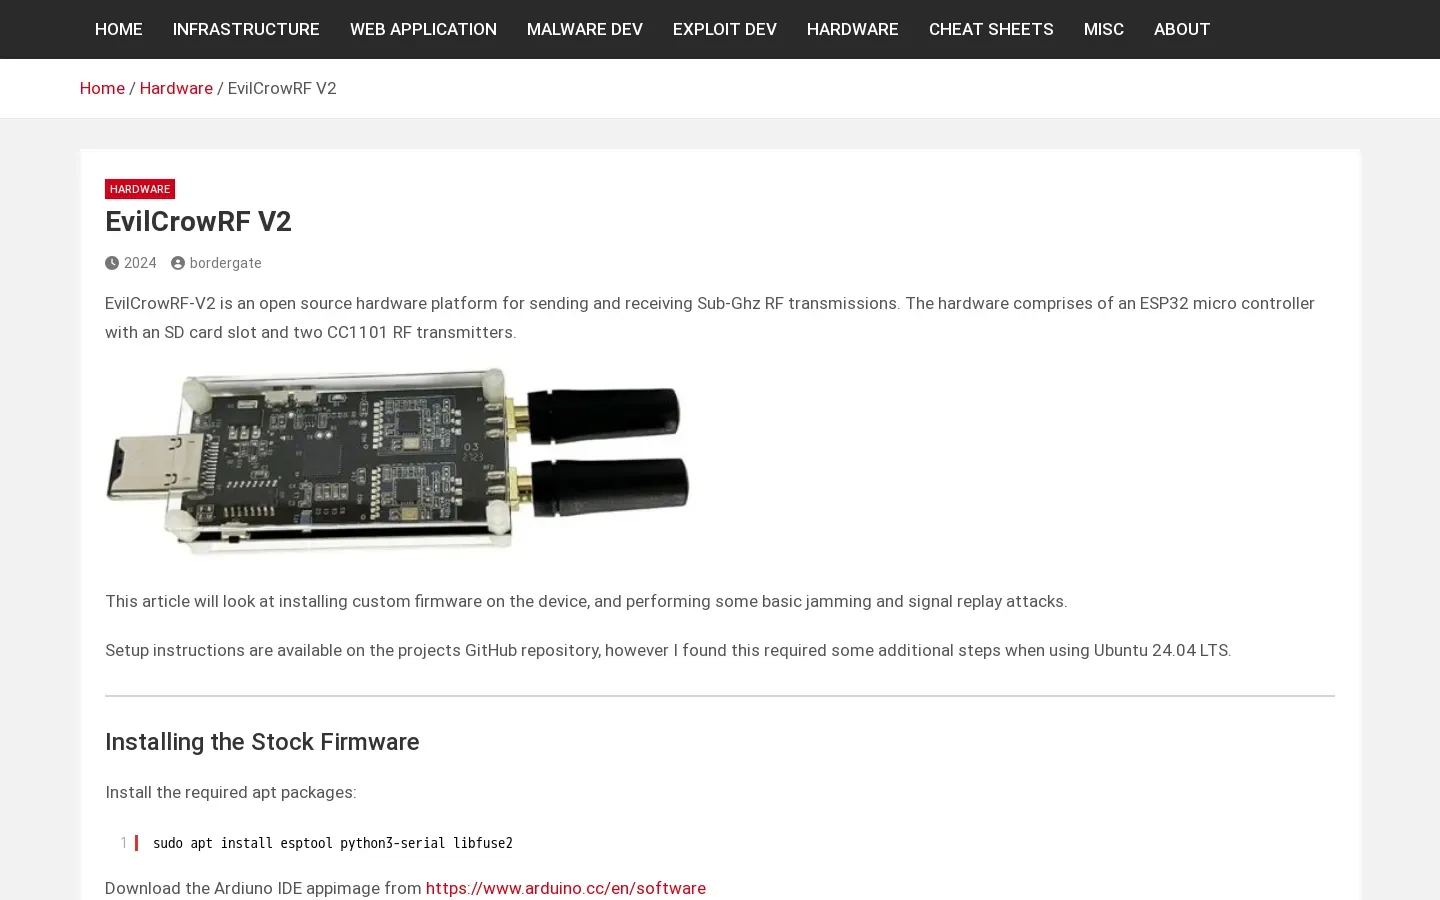
EvilCrowRF-V2 Platform Setup and Utilization Guide
/ 4 min read
Quick take - The article provides a detailed guide on setting up and utilizing the EvilCrowRF-V2 platform for Sub-GHz RF transmission and reception, including instructions for installing the Arduino IDE on Ubuntu, configuring firmware, and avoiding common installation pitfalls.
Fast Facts
- The EvilCrowRF-V2 platform is a versatile open-source tool for Sub-GHz RF transmission and reception, suitable for both enthusiasts and professionals.
- Users can set up the platform on Ubuntu 24.04 LTS by downloading the Arduino IDE AppImage and addressing AppArmor restrictions for smooth operation.
- Firmware installation requires copying specific files to a MicroSD card and updating Arduino IDE preferences to include ESP32 boards for full functionality.
- Common pitfalls include ignoring AppArmor restrictions, failing to modify necessary files, and misconfiguring jamming settings, which can hinder device performance.
- The platform supports advanced RF techniques like jamming attacks and signal transmission, with resources available on GitHub for enhanced operations.
Setting Up and Utilizing the EvilCrowRF-V2 Platform for RF Transmission and Reception
In the ever-evolving landscape of open-source hardware, the EvilCrowRF-V2 platform emerges as a versatile tool for both hobbyists and professionals. This platform offers advanced capabilities for Sub-GHz RF transmission and reception, making it a valuable asset for those interested in exploring radio frequency technologies. Recent tutorials have shed light on the setup process using the Arduino IDE on Ubuntu 24.04 LTS, including installing custom firmware to enable Over-the-Air (OTA) updates and sophisticated RF attack techniques.
Overview of Setup Process
To get started with the EvilCrowRF-V2, users must first download the Arduino IDE AppImage from the official Arduino website. This portable software format is designed for easy execution on Linux systems without requiring superuser permissions. However, users must address AppArmor restrictions to ensure smooth operation. This can be done by temporarily disabling these restrictions or running the AppImage with the --no-sandbox command line option.
Upon launching the AppImage, it creates a $HOME/Arduino directory essential for storing project files. A critical step involves editing the ElegantOTA/src/ElegantOTA.h file, changing a specific line from 1 to 1. Additionally, adjustments are needed in the AsyncTCP directory to maintain compatibility.
Firmware Installation and Configuration
The next phase involves preparing the EvilCrowRF-V2 device for operation. Users need to ensure all necessary apt packages are installed before proceeding with firmware installation. The tutorial emphasizes copying essential firmware folders from EvilCrowRF-V2/firmware/v1.3.3/SD/HTML to a MicroSD card, which is then inserted into the device.
Updating Arduino IDE preferences is crucial to include additional boards manager URLs for installing ESP32 boards, enabling users to leverage their hardware’s full potential.
Common Pitfalls and Solutions
During installation, users may encounter common issues that could impede functionality. Ignoring AppArmor restrictions can prevent the Arduino IDE AppImage from executing properly, while failing to modify required files can result in compilation errors. After OTA updates, reconnecting to the new SSID (‘ECRF’) is vital for accessing the device’s web interface effectively. Misconfigurations in jamming settings may lead to ineffective results or unintended interference with other devices.
Advanced Functionalities and Tools
Installing custom firmware on the EvilCrowRF-V2 unlocks advanced RF transmission and reception techniques, such as jamming attacks and transmitting recorded signals. Users can experiment with signal jamming by selecting appropriate frequencies and output power, observing effects using an RTL-SDR—a software-defined radio crucial for monitoring and receiving radio signals.
The tutorial also underscores the importance of utilizing resources available on GitHub, where users can download h-RAT firmware and necessary sub-files to enhance their EvilCrowRF-V2 operations.
Conclusion
The EvilCrowRF-V2 platform, when combined with the Arduino IDE and proper setup procedures, offers a wealth of opportunities for RF enthusiasts. By meticulously following outlined steps and avoiding common pitfalls, users can effectively harness this open-source hardware’s capabilities for innovative projects in radio frequency transmission and reception. This initiative not only advances technical skills but also fosters a deeper understanding of wireless communication technologies, paving the way for further exploration in this dynamic field.


